
Back-Office - White Label Guide
What it gives you ?
It gives you the option to white-label your travel agency or any of your travel agencies to operate on our Back-Office platform under a customized URL and a customized look.
Create your own labeled environment.
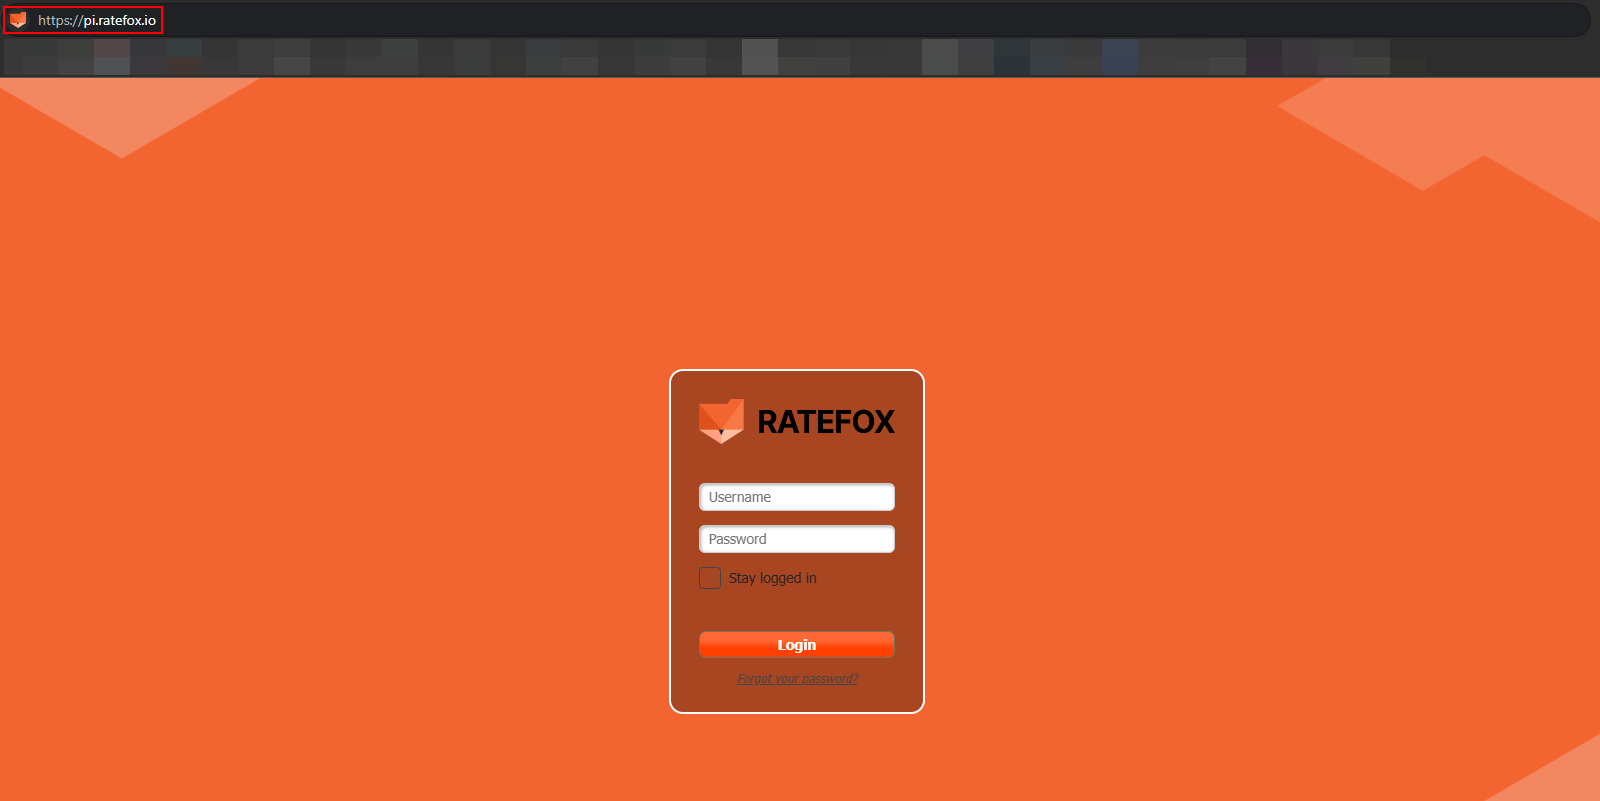
Example of White-Labeled Back-Office
The end result:
Let’s say your travel agency name is “My Travel”.
Instead on operating in https://hsp.gimmonix.com/ as your BackOffice or B2B environment, you will be operating in your own domain, for instance: agent.mytravel.com.
This will allow you to customize your login page, backgrounds, upload own CSS, etc.
You can also have own white-label for any of the travel agencies located under your company hierarchy.
Sounds great! What to do next?
Simple 5 Steps :
- Configure DNS records in your domain DNS admin panel for domain verifying and pointing. See the Domain Configuration header ahead for more detailed instructions.
- Send us the sub-domain name that will be used for your Backoffice / B2B (for example: “agent.mytravel.com” or “backoffice.mytravel.com” or "b2b.mytravel.com").
- Make sure that your new domain is reachable by sending it ping command. and also make sure that once you run “nslookup” on your domain (using this site: http://ping.eu/nslookup/ or cli tool) you're getting the following results:

- Send us your .pfx file and tell us the password to access the file. See the TLS/SSL Setup header ahead for more detailed instructions.
- In case you are requesting to white-label one of the travel agencies that are located under your company hierarchy, please send us the Node Id and Name that you've created and assigned for them. After we complete the white-label setup, the possibility to customize the login page of the white-labeled B2B will be available for that node.
TLS / SSL Setup
Client will provide the *.pfx file secured at least 2048 bit + Password protected, encrypted using triple DES. The .pfx file should be extracted from the TLS/SSL verification for the domain you’re configuring.
NOTE:In case you want to provide TLS / SSL certificate issuance to us, we will use Azure Managed Certificate for you. In this case, you will not need any actions regarding to TLS/SSL certificate issue.
Domain Configuration
-
Log in to your domain host DNS admin panel.
-
Create the following DNS Records :
-
In case of Root domain (eg. mytravel.com):
Type Host Value A @23.97.224.11,13.69.68.30,13.74.41.233 CNAME @ekkworldtravelinktrf.trafficmanager.net TXT asuid9749440812726984B69D2F02D8D5C19011ED947E62361CCA2D11D78B92528394 -
In case of Subdomain (eg. backoffice.mytravel.com):
Type Host Value CNAME <subdomain>(i.e. backoffice)ekkworldtravelinktrf.trafficmanager.net TXT asuid.<subdomain>(i.e. asuid.backoffice)9749440812726984B69D2F02D8D5C19011ED947E62361CCA2D11D78B92528394
-
-
TTL - Select how long the server should cache the information.
NOTE :Remember that it can take up to 72 hours for DNS changes to go into effect, depending on the record's TTL value when you made the change.
Updated about 2 months ago